
Plants
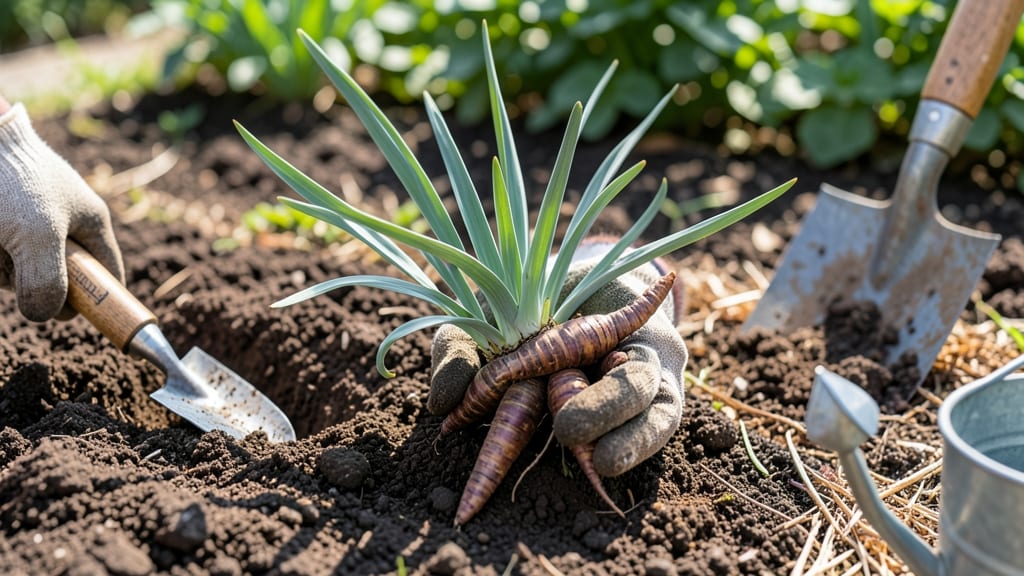
Timing your iris bulb planting just right in spring can mean the difference between vibrant blooms and wasted effort. If you've ever watched your 🌸 Iris rhizomes struggle because you planted too early or too late, you know how critical this window is.
The key isn't just following a calendar date—it's understanding when your soil reaches the perfect temperature for growth, typically between 50-60°F.
For gardeners in USDA Zone 6a, like me, this usually means waiting until early to mid-spring when the last frost has passed. But here's the catch: even if your neighbors are already planting, your soil might not be ready yet.
That's why I've learned to rely on a simple soil warmth test instead of guessing by the date.
In this guide, I'll walk you through exactly how to test your soil's readiness, including regional adjustments for different climates. You'll discover the best planting schedule for your area and how to prepare your soil for optimal iris growth.
By the end, you'll know exactly when to plant those rhizomes to ensure healthy blooms all season long.
Whether you're a seasoned gardener or just starting with irises, these insights will help you avoid common mistakes. Let's get those 🌸 Iris planted at the perfect time for a stunning spring display!
Soil warmth test: the exact temperature to plant iris bulbs for spring success
Planting iris bulbs—technically called rhizomes—at the wrong time in spring can leave them vulnerable to frost damage or rot. Unlike true bulbs, iris rhizomes need warm soil to wake from dormancy, but not so warm that they sprout prematurely.
The ideal soil temperature range is 50-60°F, which triggers root growth without stressing the plant.
Relying on calendar dates alone is risky because spring arrives 2-4 weeks earlier in southern climates than in northern zones. Instead, use a soil thermometer (just $10 at garden centers) to measure 2-3 inches deep—where the rhizomes will root.
This method accounts for your local microclimate better than any frost chart.
Here’s why timing matters: Planting too early in cold soil stunts root development, while waiting too long risks late-season blooms or weak stems. The 50-60°F window aligns with when your iris rhizomes can absorb moisture and nutrients efficiently, setting the stage for vibrant, sturdy blooms by late spring.
⚠️ CRITICAL: If your soil stays below 50°F for more than 2 weeks, your rhizomes may rot. Conversely, planting in soil above 65°F can cause premature sprouting, leaving them vulnerable to heat stress.
| Soil Temp (°F) | Planting Risk | Action |
|---|---|---|
| Below 50°F | Rhizomes rot; weak roots | Wait 1-2 weeks or use row covers |
| 50-60°F | Ideal: Strong root growth | Plant rhizomes 1-2" deep |
| 60-65°F | Moderate: Slightly faster growth | Plant as usual; monitor moisture |
| Above 65°F | High: Premature sprouting | Delay planting; mulch to cool soil |
To test your soil, insert the thermometer 2-3 inches deep in a shady spot (direct sun skews readings). Check temperatures morning and evening for 3 days to account for daily fluctuations.
In Zone 3-5, aim for late April to early May, while Zone 7-10 gardeners can plant as early as mid-March.
Pro tip: If your soil warms too quickly, shade it with black landscape fabric or mulch to slow heating. This mimics the gradual warming irises prefer, reducing stress. For container-grown rhizomes, use a heat mat set to 55°F to jumpstart root growth in cooler climates.
Once your soil hits the 50-60°F sweet spot, plant your iris rhizomes with the top third exposed—this prevents rot while allowing sunlight to dry the crown. Water lightly to settle the soil, then avoid overwatering for the first 2 weeks to encourage root establishment.
🌱 Remember: Iris rhizomes are not true bulbs—they’re thickened underground stems. Planting them too deep (below 2 inches) or covering the top completely suffocates them. The exposed portion acts as a drying agent, protecting against fungal diseases like botrytis.
After planting, monitor for new leaf growth in 3-4 weeks. If leaves appear yellow or mushy, your soil was likely too cold or soggy. Adjust your next planting window accordingly—this trial-and-error method refines your local timing over time.
Soil warmth test: the exact temperature to plant iris bulbs for spring success
Planting iris bulbs—or more accurately, their rhizomes—at the wrong time in spring can leave them vulnerable to rot or stunted growth. Unlike true bulbs, iris rhizomes thrive when the soil reaches a precise temperature range.
This isn’t just a guess; it’s a science-backed method that ensures your irises establish roots before the heat of summer arrives.
Most gardeners rely on calendar dates, but spring weather varies wildly by region. A soil thermometer is your best tool—aim for 50-60°F (10-15°C) at a depth of 2-3 inches. This warmth signals that the soil is ready to support new growth without risking frost damage.
If you plant too early, rhizomes can rot; too late, and you might miss the ideal bloom window.
The soil warmth test works because iris rhizomes need consistent warmth to break dormancy. In colder climates (Zones 3-5), wait until late April or early May. Warmer zones (Zones 7-10) can plant as early as February or March.
The key is consistency—soil should stay above 50°F (10°C) for at least a week before planting.
🌱 Soil Warmth Test: Ideal Conditions for Iris Rhizomes
| Requirement | Specification |
|---|---|
| Soil Temperature | 50-60°F (10-15°C) |
| Depth for Testing | 2-3 inches |
| Consistency Duration | 7+ days above 50°F |
| Planting Depth | 1-2 inches (top 1/3 exposed) |
| Soil Moisture | Well-draining, slightly moist |
If you’re unsure about soil temperature, watch for natural signs like crocus or daffodil blooms, which indicate warming soil. These flowers often signal it’s safe to plant iris rhizomes.
Another trick is to press your hand into the soil—if it feels warm but not hot, it’s likely in the ideal range.
Once your soil passes the test, plant rhizomes with the top one-third exposed to sunlight. This prevents rot while allowing them to absorb warmth. Mulch lightly around the base to retain moisture, but avoid over-mulching, which can trap excess heat and harm the rhizomes.
Timing isn’t just about the calendar—it’s about soil readiness. By mastering this test, you’ll give your irises the best start for bold, healthy blooms by late spring. 🌸